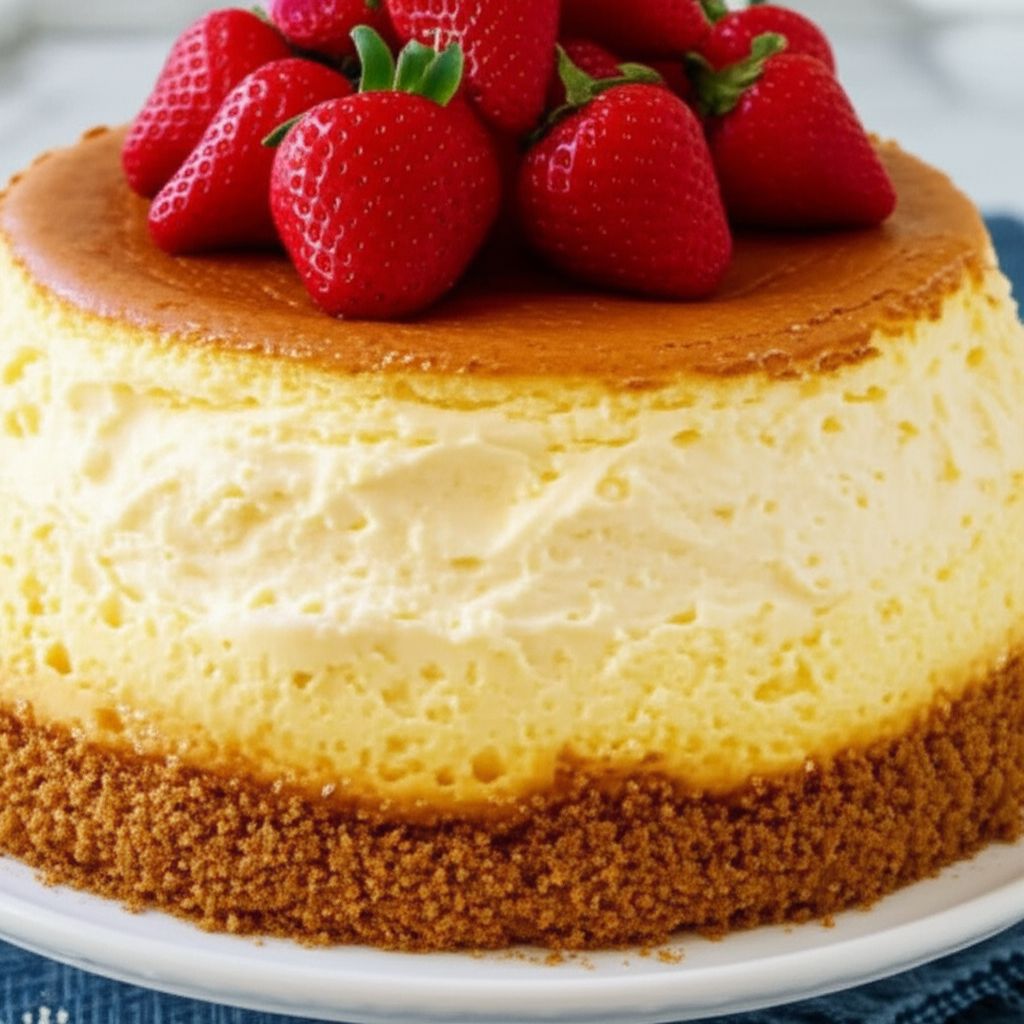
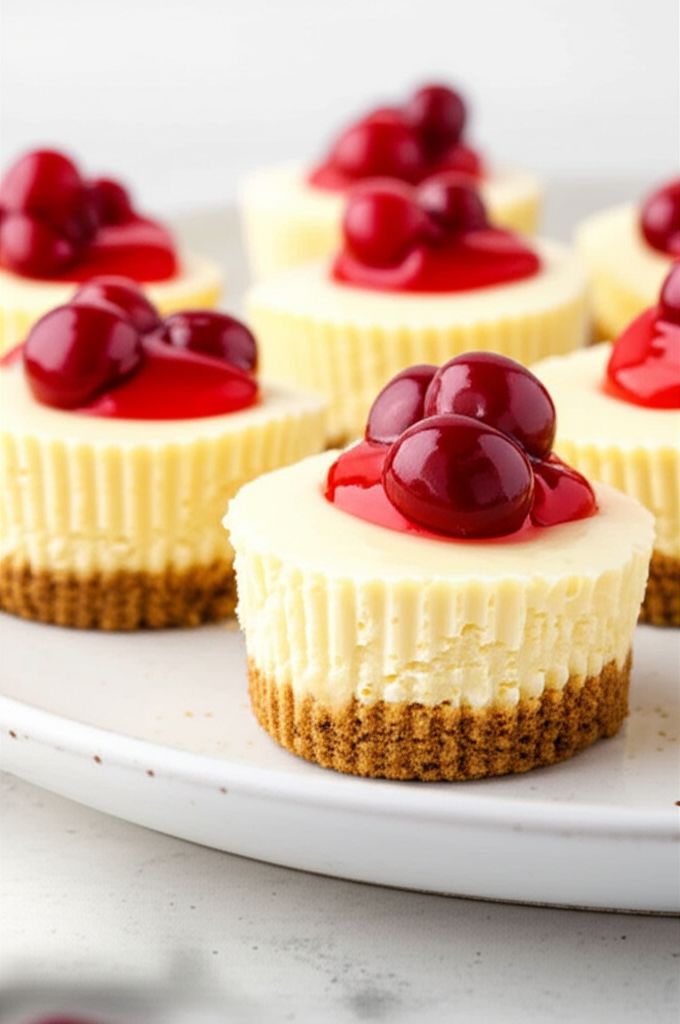
For the best texture, ensure your cream cheese is fully softened to room temperature before using. This will prevent lumps in the batter. The water bath is crucial for achieving a moist and evenly baked cheesecake. It helps to prevent cracking and ensures a tender texture. Folding the egg whites gently is key to maintaining the airy texture of the cheesecake. Avoid overmixing, which can deflate the batter. If the cheesecake begins to brown too quickly during baking, tent it loosely with aluminum foil. Serve with fresh berries, a light fruit compote, or a dusting of powdered sugar for an extra touch of elegance.
Light and Airy Cheesecake
-
PREP TIME20 mins
-
COOK TIME1 hrs 50 mins
-
TOTAL TIME6 hrs 10 mins
-
SERVING8 People
-
VIEWS72
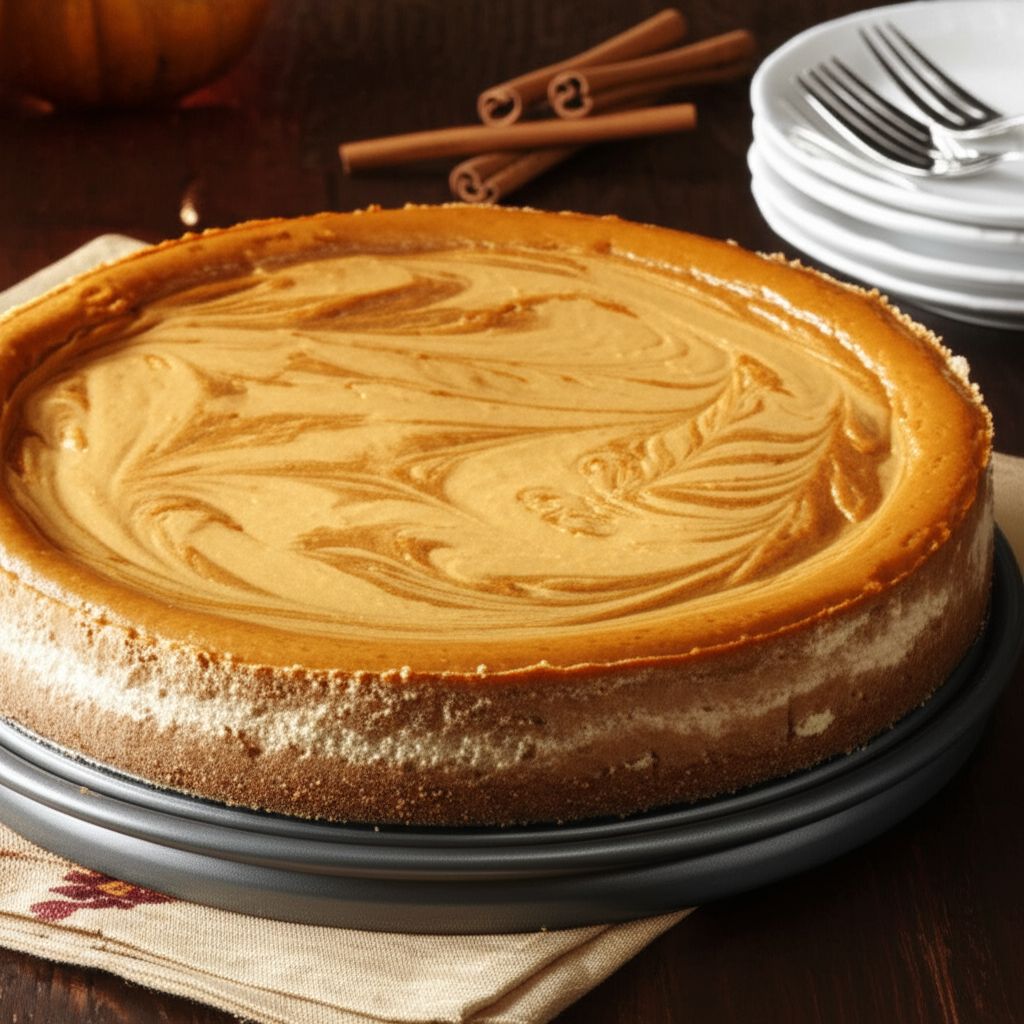
Escape the ordinary with this ethereal cheesecake, a delightful confection reminiscent of sun-kissed mornings and gentle breezes. Inspired by classic techniques, this rendition prioritizes a light, fluffy texture that dances on the palate, leaving you refreshed and wanting more.
Ingridients
Nutrition
-
Carbohydrate30 g
-
Cholesterol113 mg
-
Fiber0 g
-
Protein6 g
-
Saturated Fat12 g
-
Sodium189 mg
-
Sugar13 g
-
Fat22 g
-
Unsaturated Fat0 g
Follow The Directions
01
StepPreheat oven to 350°F (175°C). Prepare an 8-inch springform pan by wrapping the outside securely with aluminum foil (to prevent water from seeping in during the water bath). Grease the inside of the pan generously with cooking spray. (5 minutes)
02
StepPress the crushed vanilla wafers evenly across the bottom and up the sides of the prepared springform pan, creating a firm, cohesive crust. (10 minutes)
03
StepIn a large bowl, whisk together the egg yolks and granulated sugar until the mixture is pale yellow and slightly thickened. Add the softened cream cheese, sour cream, and vanilla extract. Beat until smooth and completely combined. (5 minutes)
04
StepIn a separate, clean, and dry glass or metal bowl, beat the egg whites with an electric mixer until foamy. Add the cream of tartar and continue beating until stiff, glossy peaks form. The peaks should hold their shape when the beaters are lifted. (7 minutes)
05
StepGently fold one-third of the beaten egg whites into the cream cheese mixture to lighten it. Then, carefully fold in the remaining egg whites, using a figure-eight motion, until just combined. Be careful not to overmix, as this will deflate the batter. (8 minutes)
06
StepLine a roasting pan with a damp kitchen towel. Place the prepared springform pan on top of the towel inside the roasting pan. Carefully pour boiling water into the roasting pan until it reaches halfway up the sides of the springform pan (creating a water bath). (5 minutes)
07
StepBake in the preheated oven for approximately 50 minutes, or until the edges are nicely puffed and the surface is firm, except for a small area in the center that should jiggle slightly when gently shaken. Turn off the oven and leave the cheesecake inside for 1 hour to cool gradually. (1 hour and 50 minutes)
08
StepRemove the cheesecake from the oven and water bath. Let it cool completely at room temperature, then refrigerate for at least 4 hours, or preferably overnight, to allow it to fully set. (4 hours)
09
StepOnce chilled, gently run a thin knife around the edge of the cheesecake to loosen it from the pan. Carefully release the springform pan sides and transfer the cheesecake to a serving plate. Serve chilled and enjoy!


Flossie Reynolds
Jun 27, 2025The texture is truly light and airy, just as described. It's not overly sweet, which is perfect. I added a raspberry coulis on top and it was divine!
Mario Huel
Jun 10, 2025This recipe is a game-changer! I've always been intimidated by cheesecakes, but this one was so easy and the results were amazing. My family devoured it!
Alejandrin Murphy
Jun 2, 2025Can I use a graham cracker crust instead of vanilla wafers?
Javonte Mcclure
May 25, 2025The slow cooling process is key to preventing cracks. Be patient and don't skip this step!
Una Fahey
May 14, 2025I love that this recipe uses simple ingredients that I usually have on hand. It's a great dessert for any occasion.
Myriam Kutch
Apr 27, 2025This cheesecake is so much better than any store-bought version. The homemade crust makes all the difference!
Asha Schulist
Feb 15, 2025I made this recipe with gluten free vanilla wafers and it came out perfect!
Lee Williamson
Jan 9, 2025I followed the recipe exactly and it came out perfectly. The water bath is essential for preventing cracks. Thank you for sharing this wonderful recipe!
Raul Cronin
Nov 28, 2024I accidentally overbaked mine a little, but it was still delicious. Next time, I'll check it a few minutes earlier.
Mozelle Hauck
Oct 19, 2024I've made this cheesecake several times now and it's always a hit. I sometimes substitute lemon extract for the vanilla extract for a little extra zing.